One Christmas many moons ago, my parents bought me a Sega Genesis because they are really ridiculously awesome. (Is it obvious there’s a “but” coming?) But, as it turned out, I ended up as the only one of my friends with a Genesis. Everyone else was rocking with Super Nintendo Entertainment Systems, a console disparity that foreshadowed what would come–I had a Playstation when everyone else had N64, Playstation 2 when Xbox became popular, and I pretty much gave up after that. So while I preferred my Genesis at the time–Sonic rules, end of story–for my most recent birthday I bought a Super Nintendo to relive my childhood in an alternate gameplay universe.
I recently finished playing through all of Mario All-Stars + World, and my awesome roommate just bought Zelda: A Link to the Past as a birthday gift for my girlfriend, who’s a big RPG fan. The only problem, as we quickly discovered, was that the game simply wouldn’t save. It turns out that all SNES games that save use RAM, or something similar, to do so, and thus have watch batteries inside the cartridge to power the memory circuit when the cartridge isn’t in the console. Those batteries have an expected 10 year lifespan, although some certainly last longer. But in our case, it was time for some cartridge surgery, something that every SNES gamer is going to have to do at some point. Thankfully, it’s pretty easy to do.
Videos by VICE
How to change an SNES battery
First, you’ll need to go shopping. The main things you’ll need, as shown above, are:
- A 3.88mm security bit to remove the cartridge screws
- A CR2032 battery
- Electrical tape
- A sharp razor (we used a regular razor, but an X-Acto knife might be even better)
- A beverage to help steady your hand, as we are talking about reanimating pieces of history here.
- For more permanent installs, you can also solder on a new battery, even using a pre-connected terminals like this one.
Before we get going, let me just drop an important disclaimer: You will lose any games you have saved when you do this. They’ll be gone forever, but if you do it right, you’ll have another decade or two to get those saves back. As such, I suggest doing this preemptively when you pick up a new cart, or waiting until one you have is totally dead. There’s no good way to try to replace a battery without cutting power to the cart, and I’m not going to be the one to try. Also, we’re talking about fairly delicate, old electronics, so I’d practice on something cheap before you start. If you break something, don’t blame me, okay?
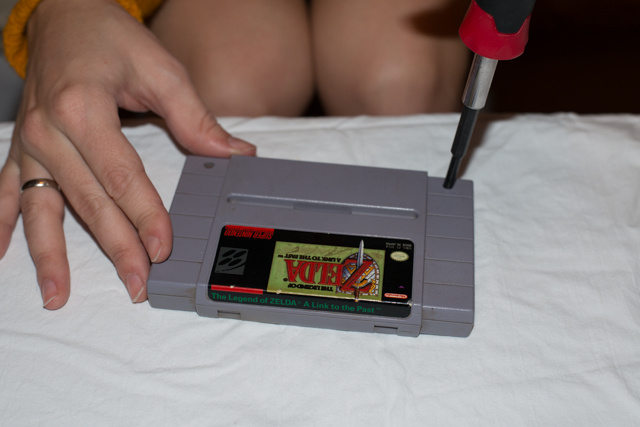
Once you’ve acquired everything, step one is to wash your hands, and then you can remove the two screws holding the cartridge together.

With the screws out, open the cartridge by first lifting the front…
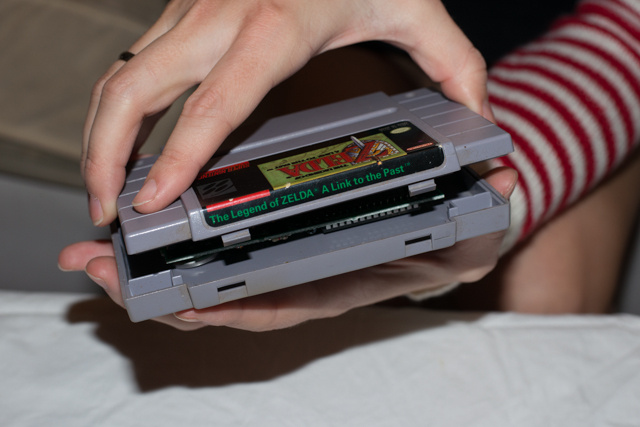
And releasing the hooks in the back. This might be the most confusing part of the whole process. Feel free to celebrate with a drink.

There it is. It’s kind of strange to see an entire, mythical video game world reduced to a little hunk of plastic and metal.

Flip over the game’s board and you can see the battery on the top left. A Link to the Past was first released in 1992, so I’m guessing the 92-02 printed on the original battery is its expected lifespan or expiration date.
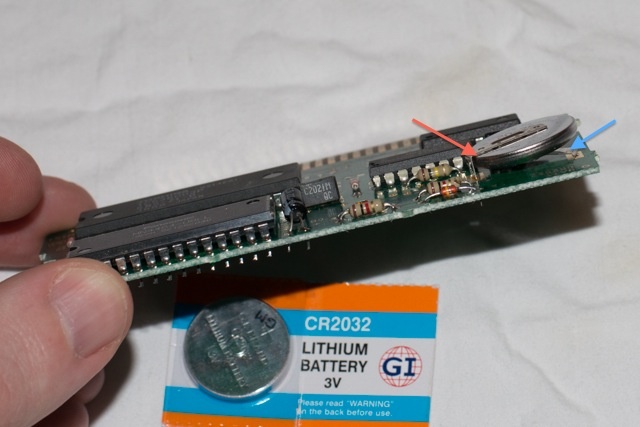
Two metal terminals sandwich the battery (orange and blue arrows). The battery is physically attached to only the top one, with either two or four bits of glue or solder, depending on the game. The goal then is to release the battery without bending or breaking the flimsy terminals.
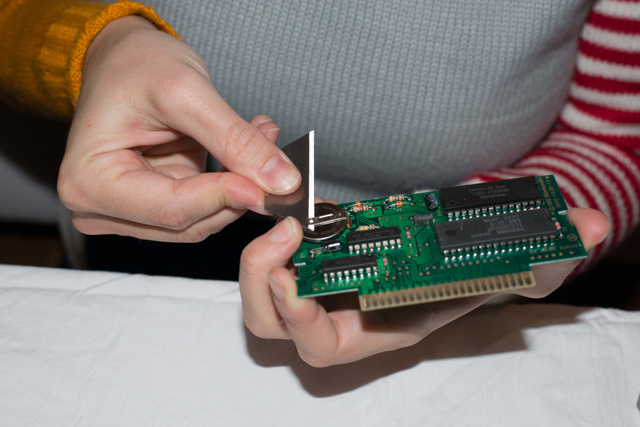
If you have the gear and know-how to solder, buying a battery with the terminal already attached and replacing it on the board it probably an easier route. But I wouldn’t suggest buying a soldering kit just to replace a game battery, as it’s pretty easy to do otherwise. Basically, you’re just going to stick that razor in between the terminal and battery and saw them apart. Before you pop it off, note or mark on the battery which side was up.
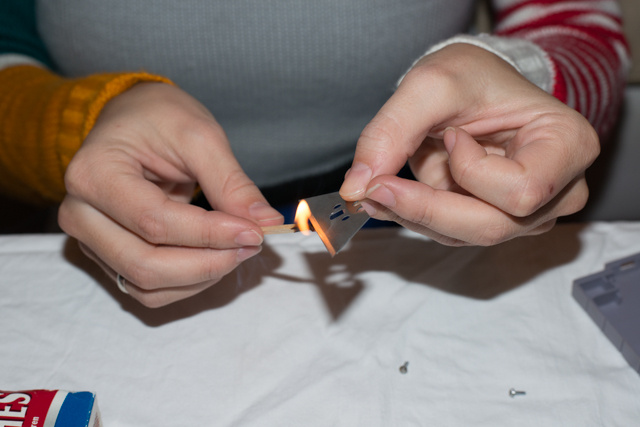
We’d heard that heating up the blade might help, and it sorta-kinda did. You don’t want to get it too hot though, as you won’t be able to hold it and you definitely don’t want to risk overheating or puncturing the battery. Also, make sure the blade stays clean.

Another disclaimer: Don’t cut towards yourself with a brand-new razor. That said, you’ll need to hold and support the terminal while sawing, as it’s fragile. Gloves might help, but an X-Acto is probably a more precise choice. In any case, going from the back side seems to work best.

Success!

Here’s a better look at those two battery terminals. Now we just need to sandwich a new battery in there and wrap it up. In our case, the old terminals had lost some of their spring, so we took care to make sure they were actually touching the battery once we started taping.
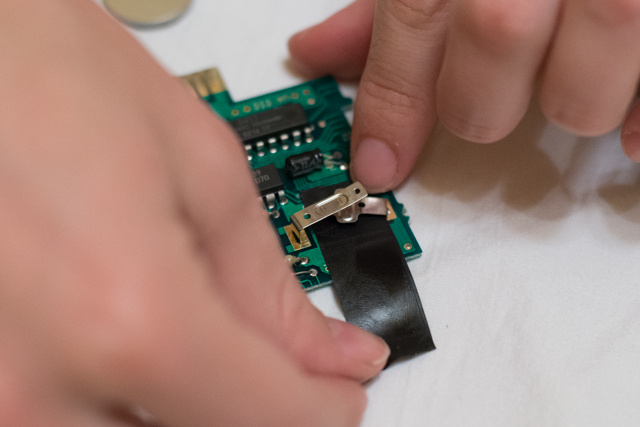
For the electrical tape technique, slide about 2.5 inches of tape under the bottom terminal. We had to trim its width to fit cleanly.

Slide the new battery in there, noting that you’ve got the right side up. You can see that our terminal got a little bit of a curve bent into it in the process, but that’s not going to cause any problems.
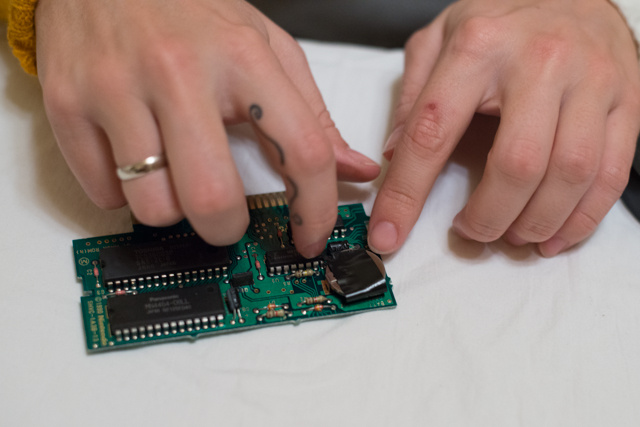
And wrap that puppy up nice and secure.
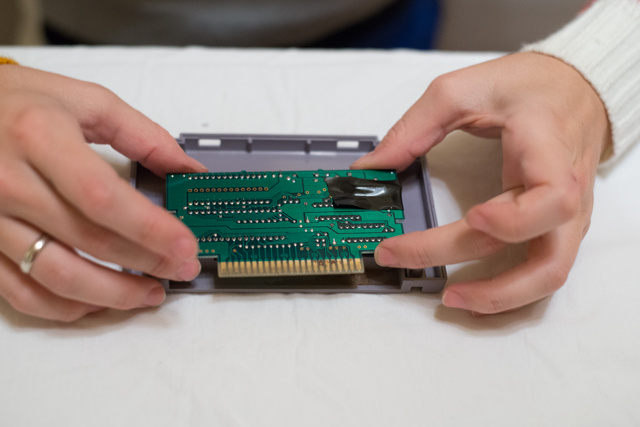
After confirming that both terminals are touching the battery (we added an extra strip of tape for support), put the board back in the case back, battery side down. Now reverse the steps of building the cartridge: Slide the top hooks in, fold the case closed, and pop in the two screws. Don’t get too aggro on the old plastic, but you should be able to get the screws fairly tight. The battery shouldn’t be rattling or anything.

Now for the most important part: Pop the game into the system, confirm that it works, and play long enough to get to a save point. Then pop that sucker out and give it a shake. You don’t want to beat up on the poor thing, but if your battery is loose, or the terminals aren’t securely connected, you’re want to going to find out now rather than after you put in a bunch of hours on your game.
The moment of truth: Pop your game back in, and if it still has your save, you’re golden for another decade of retro gaming. If the game didn’t save, your battery is likely loose, or the terminals aren’t touching. (If that doesn’t work, maybe something is wrong with the cartridge, but that’s a road I haven’t crossed yet.)
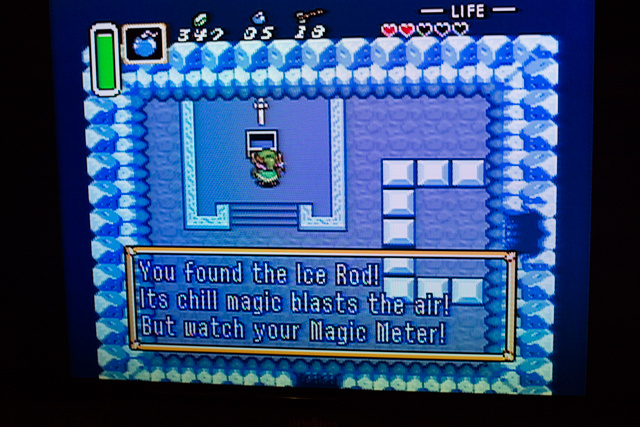
Finally you can sit back and play safe in the knowledge that your game isn’t going anywhere. Now go get some of that chill magic!
More
From VICE
-

A waterfall in Sungai Tekala Recreational Forest, Hulu Langat, Selangor. Photo: Zaki Mohamed / Getty Images -

DETROIT, MICHIGAN – NOVEMBER 12: Kirk Hammett, Lars Ulrich, James Hetfield and Robert Trujillo of Metallica perform at Ford Field on November 12, 2023 in Detroit, Michigan. (Photo by Scott Legato/Getty Images) -

Photo: Catherine Falls Commercial / Getty Images -

Photo: RYosha / Getty Images